Stage 3: Manage Blog Posts
⏰ 30mins
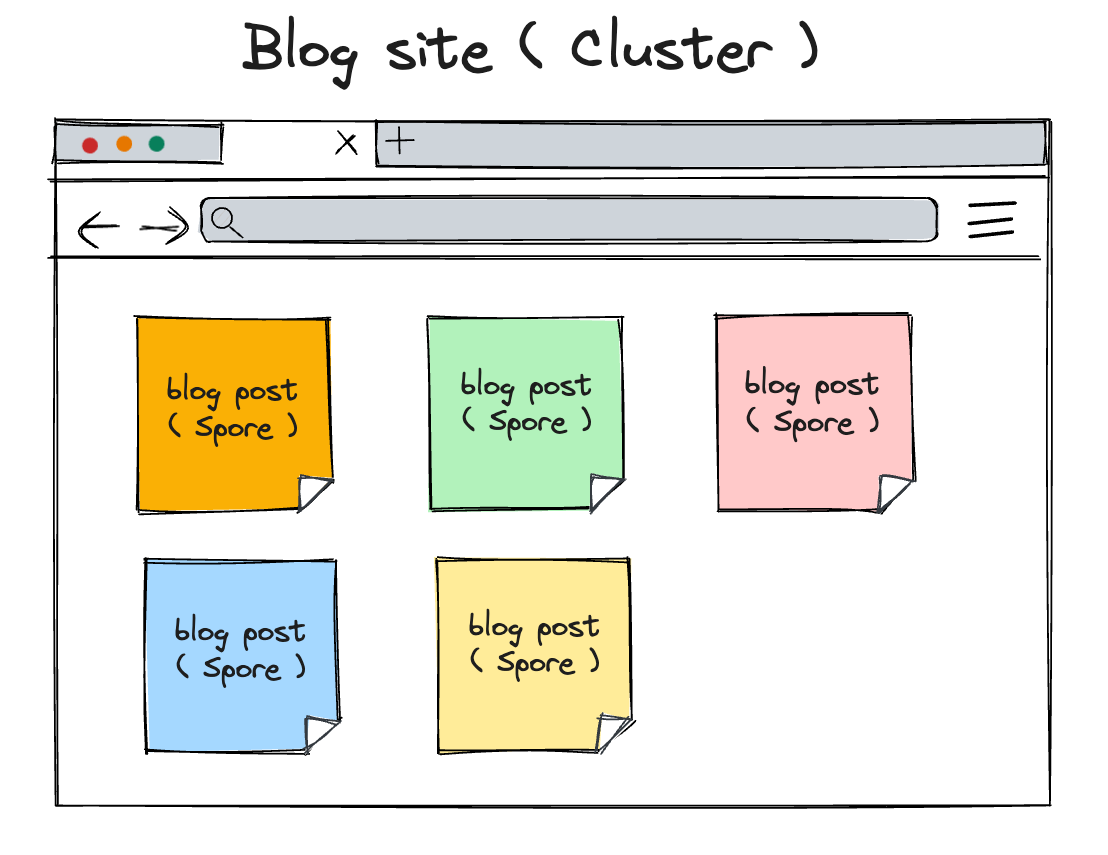
Now that we have our blog site ready, it's time to fill it with some blog posts. Remember, a blog site is essentially a Cluster, and each blog post is a Spore.
In this stage, we'll guide you through the process of publishing, displaying, and deleting blog posts.
👉 You can explore the 03-publish-post branch in the repository using the command git checkout 03-publish-post to view all the code for this stage.
We are taking off at full speed. While we've already used createCluster in the Spore SDK, it's time to introduce createSpore. All our blog posts are stored as Spores, fully and immutably on the blockchain.
Publish blog post
To publish blog posts, we need to set up a submission form and handle transactions. In this tutorial, we'll use a simple text area input for simplicity.
You Need:
- Spore SDK
- Files:
src/pages/post/new.tsxandsrc/page/site/[id].tsx
1. Implement Spore transaction
Create src/pages/post/new.tsx and add the following code to generate a transaction that creates a new blog post and publishes it on the blog site page:
import useWallet from '@/hooks/useWallet';
import { signTransaction } from '@/utils/transaction';
import { RPC } from '@ckb-lumos/lumos';
import { createSpore } from '@spore-sdk/core';
import { useRouter } from 'next/router';
import { useState } from 'react';
import { config } from '@/config';

export default function NewPost() {
  const router = useRouter();
  const { id } = router.query;
  const { address, lock, isConnected, connect } = useWallet();
  const [title, setTitle] = useState('');
  const [content, setContent] = useState('');

  const handlePublishPost = async (e: React.FormEvent<HTMLFormElement>) => {
    e.preventDefault();
    if (!address || !lock) return;

    const { txSkeleton } = await createSpore({
      data: {
        content: Buffer.from(JSON.stringify({ title, content })),
        contentType: 'application/json',
        clusterId: id as string,
      },
      fromInfos: [address],
      toLock: lock,
    });
    const tx = await signTransaction(txSkeleton);
    const rpc = new RPC(config.ckbNodeUrl);
    const hash = await rpc.sendTransaction(tx, 'passthrough');
    setTitle('');
    setContent('');
    console.log(hash);
  };

  return (
    <div>
      {isConnected ? (
        <form onSubmit={handlePublishPost}>
          <div>
            <label htmlFor="title">Title: </label>
            <div>
              <input
                type="text"
                id="title"
                value={title}
                onChange={(e) => setTitle(e.target.value)}
              />
            </div>
          </div>
          <div>
            <label htmlFor="content">Content</label>
            <div>
              <textarea
                id="content"
                value={content}
                onChange={(e) => setContent(e.target.value)}
              />
            </div>
          </div>
          <button type="submit">Publish</button>
        </form>
      ) : (
        <button onClick={() => connect()}>Connect Wallet</button>
      )}
    </div>
  );
}
In the above code, we use the createSpore function to generate transactions for creating a Spore Cell, which represents a blog post. The process is similar to using createCluster, but now we include more content within the Spore.
There are two key fields related to content in the Spore: contentType and content. For our blog posts, we save the title and content in binary format. We mark contentType as 'application/json' so that when we retrieve the Spore Cell later, we can parse the data as a JSON string. This approach allows you to save any type of content, making Spore a versatile solution.
Another important aspect is the clusterId field in the createSpore data. This field associates the Spore with a Cluster, indicating to which blog site it belongs. We use this field to query all Spores associated with a specific clusterId, which means all posts on our site in this tutorial.
After generating the unsigned transaction using createSpore, as before, we call signTransaction to request a MetaMask signature. Once signed, the transaction is sent to the blockchain and awaits confirmation. You will see the transaction hash in the console, and you can check its status on the CKB Explorer.
2. Add button to publish posts
In src/page/site/[id].tsx, modify the following code to add a button include a button on the site's homepage, allowing users create new posts.
export default function SitePage() {
  // ...

  return (
    <div>
      <h1>{siteInfo?.name}</h1>
      <p>{siteInfo?.description}</p>
      {isConnected ? (
        <button onClick={() => router.push(`/post/new?id=${id}`)}>
          Add Post
        </button>
      ) : (
        <button onClick={() => connect()}>Connect Wallet</button>
      )}
      <div></div>
    </div>
  );
}
3. Test your first post
The title and content entered will be saved in Spore using JSON format
{
  "title": "My post",
    "content": "Hello World"
}
The transaction I requested in the video:
List published blog posts
Now that we've created and published blog posts, it’s time to retrieve from the blockchain and showcase your published blog posts on your blog site’ homepage.
You Need:
- Files:
src/page/site/[id].tsx
1. Display post titles
In src/pages/site/[id].tsx, add the following code to display all posts title on blog site:
import useWallet from '@/hooks/useWallet';
import { Indexer } from '@ckb-lumos/lumos';
import {
  getSporeScript,
  bufferToRawString,
  unpackToRawClusterData,
  unpackToRawSporeData,
} from '@spore-sdk/core';
import { useRouter } from 'next/router';
import { useEffect, useState } from 'react';
import { Site } from '..';
import { config } from '@/config';
import Link from 'next/link';

export type Post = {
  id: string;
  title: string;
  content: string;
};

export default function SitePage() {
  const router = useRouter();
  const { id } = router.query;
  const { lock, isConnected, connect } = useWallet();
  const [siteInfo, setSiteInfo] = useState<Site>();
  const [posts, setPosts] = useState<Post[]>([]);

  useEffect(() => {
    if (!id) {
      return;
    }

    (async () => {
      const indexer = new Indexer(config.ckbIndexerUrl);
      const { script } = getSporeScript(config, 'Cluster');
      const collector = indexer.collector({
        type: { ...script, args: id as string },
      });

      for await (const cell of collector.collect()) {
        const unpacked = unpackToRawClusterData(cell.data);
        setSiteInfo({
          id: cell.cellOutput.type!.args,
          name: unpacked.name,
          description: unpacked.description,
        });
      }
    })();

    (async () => {
      const indexer = new Indexer(config.ckbIndexerUrl);
      const { script } = getSporeScript(config, 'Spore');
      const collector = indexer.collector({
        type: { ...script, args: '0x' },
        lock,
      });

      const posts = [];
      for await (const cell of collector.collect()) {
        const unpacked = unpackToRawSporeData(cell.data);
        const { contentType } = unpacked;

        if (contentType !== 'application/json' || unpacked.clusterId !== id) {
          continue;
        }

        const { title, content } =
          JSON.parse(bufferToRawString(unpacked.content)) ?? {};
        if (title && content) {
          posts.push({
            id: cell.cellOutput.type!.args,
            title,
            content,
          });
        }
      }
      setPosts(posts);
    })();
  }, [id, lock]);

  // ...

  return (
    <div>
      <h1>{siteInfo?.name}</h1>
      <p>{siteInfo?.description}</p>
      {isConnected ? (
        <button onClick={() => router.push(`/post/new?id=${id}`)}>
          Add Post
        </button>
      ) : (
        <button onClick={() => connect()}>Connect Wallet</button>
      )}
      <div>
        <h2>Posts</h2>
        <ul>
          {posts.map((post) => (
            <li key={post.id}>
              <Link href={`/post/${post.id}`}>{post.title}</Link>
            </li>
          ))}
        </ul>
      </div>
    </div>
  );
}
When your website's homepage loads, this code uses the Indexer to retrieve all the Spore linked to your account on the blockchain. The code then filters these Spore based on their contentType and clusterId, ensuring that only the blog posts relevant to your site are obtained. We then unpack the data and parse it as a JSON string, and then save it in the posts state.
Display blog post content
We're almost there! After successfully publishing a blog post, the next step is to display the blog post data saved in Spore.
You Need:
- Files:
src/page/post/[id].tsx - Rendering tool: react-remark
**1. Install react-remark render markdown into React.
npm install --save react-remark
While writing this part of the code, I thought about putting The Nervos CKB Whitepaper on the blockchain. Therefore, I used react-remark to render Markdown content here. If you don't need it, you can ignore this part. You can see an example at The Nervos Network Positioning Paper - Spore Blog Tutorial, and this post was developed and published following the steps in this tutorial.
2. Create page for posts
Create a new file src/pages/post/[id].tsx and add the following code to create a new page in our project to display the blog post:
import { Indexer } from '@ckb-lumos/lumos';
import {
  SporeData,
  bufferToRawString,
  getSporeScript,
} from '@spore-sdk/core';
import { useRouter } from 'next/router';
import { useEffect, useState } from 'react';
import { useRemark } from 'react-remark';
import { Post } from '../site/[id]';
import { config } from '@/config';

export default function Post() {
  const router = useRouter();
  const { id } = router.query;
  const [post, setPost] = useState<Post>();
  const [reactContent, setMarkdownSource] = useRemark();

  useEffect(() => {
    if (!id) {
      return;
    }

    (async () => {
      const indexer = new Indexer(config.ckbIndexerUrl);
      const { script } = getSporeScript(config, 'Spore');
      const collector = indexer.collector({
        type: { ...script, args: id as string },
      });

      for await (const cell of collector.collect()) {
        const unpacked = SporeData.unpack(cell.data);

        const { title, content } =
          JSON.parse(bufferToRawString(unpacked.content)) ?? {};
        if (title && content) {
          setPost({
            id: cell.cellOutput.type!.args,
                        outPoint: cell.outPoint!,
            title,
            content,
          });
          return;
        }
      }
    })();
  }, [id]);

  useEffect(() => {
    setMarkdownSource(post?.content ?? '');
  }, [post, setMarkdownSource]);

  return (
    <div>
      <h1>{post?.title}</h1>
      <div style={{ width: '600px' }}>{reactContent}</div>
    </div>
  );
}
This code creates a new page that will display the content of your blog post. It takes the Spore ID from the page's URL as a query parameter. The page then retrieves the Spore Cell associated with that ID, unpack and parse the JSON data , then displays the post's title and content. Now you should be able to view the blog post you created with "Hello World" content.
Delete blog post
In this step, you'll add the feature to delete blog posts. Due to the immutable nature of Spore, editing a post involves deleting it and then republishing it.
This may seem like a standard feature, but it's quite unique when it comes to Spore Protocol. In contrast to other blockchain-based blogging platforms like Mirror or xLog, where heavy transaction fees are spent when publishing content, Spore operates differently. When you publish a blog post, the storage space it occupies corresponds to the number of CKB tokens being locked. While transaction fees are relatively small, freeing up the storage space by deleting posts allows you to reclaim these locked CKB tokens.
Let's add the delete feature and reclaim your CKB tokens!.
You Need:
- Spore SDK
- Files:
/src/pages/site/[id].tsx
1. Create delete button
In /src/pages/site/[id].tsx, aadd the following code to create a "Delete" button for each post in the list on your site's homepage:
export default function SitePage() {
    // ...

  return (
    <div>
      <h1>{siteInfo?.name}</h1>
      <p>{siteInfo?.description}</p>
      {isConnected ? (
        <button onClick={() => router.push(`/post/new?id=${id}`)}>
          Add Post
        </button>
      ) : (
        <button onClick={() => connect()}>Connect Wallet</button>
      )}
      <div>
        <h2>Posts</h2>
        <ul>
          {posts.map((post) => (
            <li key={post.id}>
              <Link href={`/post/${post.id}`}>{post.title}</Link>
              {isConnected && (
                <button onClick={() => handlePostDelete(post.id)}>
                  delete
                </button>
              )}
            </li>
          ))}
        </ul>
      </div>
    </div>
  );
}
The button is only displayed if the user is connected to their wallet.
2. Implement “Delete” transaction
Now, let's implement the logic for deleting a post. It's similar to what you did when creating posts, but this time you'll use meltSpore, a function provided by the Spore SDK. Modify /src/pages/site/[id].tsx with the following:
import useWallet from '@/hooks/useWallet';
import { Indexer, OutPoint, RPC } from '@ckb-lumos/lumos';
import {
  meltSpore,
  getSporeScript,
  bufferToRawString,
  unpackToRawClusterData,
  unpackToRawSporeData,
} from '@spore-sdk/core';
import { useRouter } from 'next/router';
import { useCallback, useEffect, useState } from 'react';
import { Site } from '..';
import { config } from '@/config';
import Link from 'next/link';
import { signTransaction } from '@/utils/transaction';

export type Post = {
  id: string;
  title: string;
  content: string;
  outPoint: OutPoint;
};

export default function SitePage() {
  const router = useRouter();
  const { id } = router.query;
  const { lock, isConnected, connect } = useWallet();
  const [siteInfo, setSiteInfo] = useState<Site>();
  const [posts, setPosts] = useState<Post[]>([]);
  const { address } = useWallet();

  const fetchPosts = useCallback(async () => {
    const indexer = new Indexer(config.ckbIndexerUrl);
    const { script } = getSporeScript(config, 'Spore');
    const collector = indexer.collector({
      type: { ...script, args: '0x' },
      lock,
    });

    const posts = [];
    for await (const cell of collector.collect()) {
      const unpacked = unpackToRawSporeData(cell.data);
      const { contentType } = unpacked;

      if (contentType !== 'application/json' || unpacked.clusterId !== id) {
        continue;
      }

      const { title, content } =
        JSON.parse(bufferToRawString(unpacked.content)) ?? {};
      if (title && content) {
        posts.push({
          id: cell.cellOutput.type!.args,
          title,
          content,
          outPoint: cell.outPoint!,
        });
      }
    }
    setPosts(posts);
  }, [id, lock]);

  useEffect(() => {
    if (!id) {
      return;
    }

    (async () => {
      const indexer = new Indexer(config.ckbIndexerUrl);
      const { script } = getSporeScript(config, 'Cluster');
      const collector = indexer.collector({
        type: { ...script, args: id as string },
      });

      for await (const cell of collector.collect()) {
        const unpacked = unpackToRawClusterData(cell.data);
        setSiteInfo({
          id: cell.cellOutput.type!.args,
          name: unpacked.name,
          description: unpacked.description,
        });
      }
    })();
    fetchPosts();
  }, [id, lock, fetchPosts]);

  const handlePostDelete = async (id: string) => {
    if (!address) return;

    const post = posts.find((post) => post.id === id);
    if (!post) return;

    const { txSkeleton } = await meltSpore({
      outPoint: post.outPoint,
      fromInfos: [address],
    });
    const tx = await signTransaction(txSkeleton);
    const rpc = new RPC(config.ckbNodeUrl);
    const hash = await rpc.sendTransaction(tx, 'passthrough');
    setTimeout(() => fetchPosts(), 1000);
    console.log(hash);
  };

  return ...
}
The critical part here is obtaining the outPoint of the Spore Cell associated with the post you want to delete. This can be done by querying the post using its cluster ID and post ID, as you did when displaying the post content. Once you have the outPoint, you can use the meltSpore function to delete the post.
After deletion, you'll notice that your CKB balance increases. This is because the storage space previously occupied by the post is freed up, and you can use those CKB tokens again.
That's it! You've successfully implemented the feature to delete blog posts. It's a unique feature of Nervos CKB, where storage space on the blockchain holds value, and deleting posts reclaims valuable tokens.
Check point:
Congratulations on successfully creating your on-chain blog!
In this tutorial, you learned how to:
- Integrate Wallet for DApp
- Set up your project with CKB-Lumos and Spore SDK.
- Create and manage Spores and Cluster